
Jumping Shell
 Subway Surfers
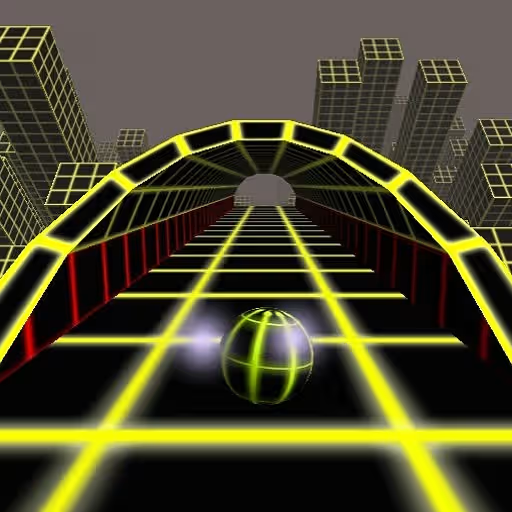 Ball Surfer 3D
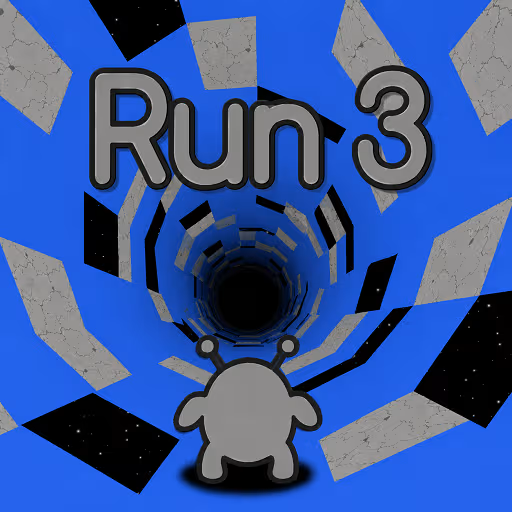 Run 3
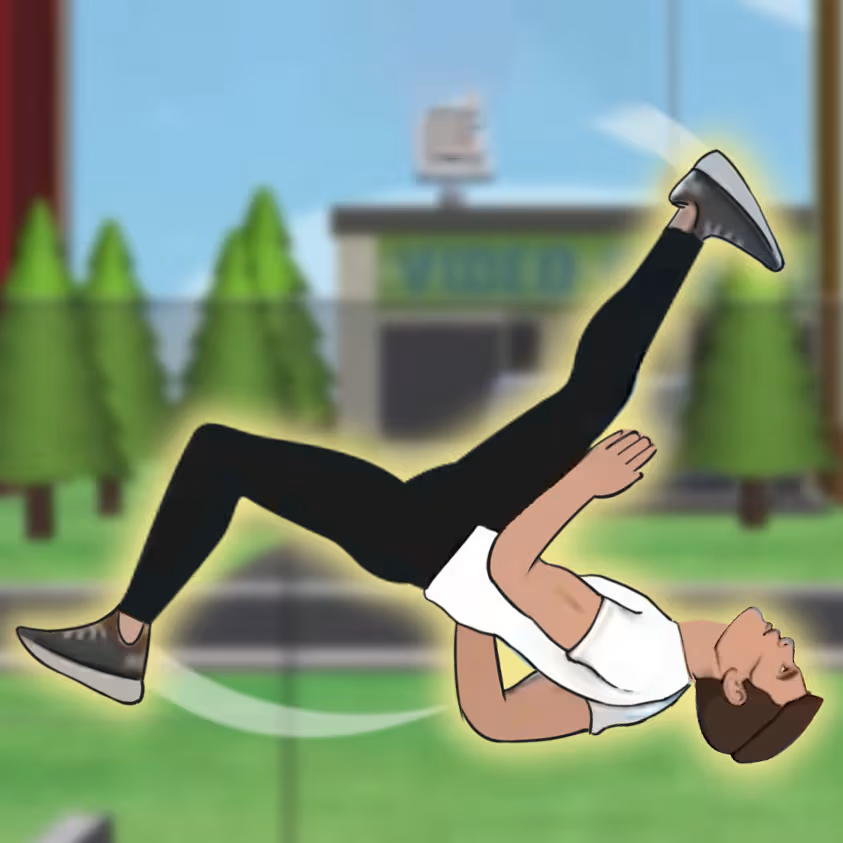 Swagflip
 Victory Lap Dash
 I Just Might Dash
 Space Waves
 Space Waves 3D
 Trench Runner
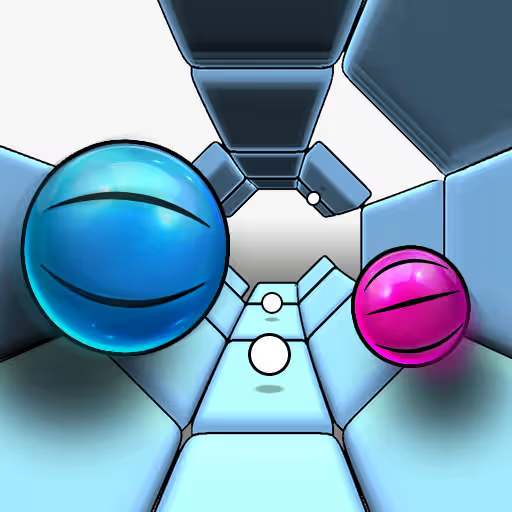 Two Tunnel 3D
 Geometry Arrow
 Geometry Dash Wave
 Dinosaur Game 3D
Concept and Inspiration
Along a rocky shore, a vacant shell can mean the difference between exposure and shelter. Many hermit crabs have soft, vulnerable abdomens and protect them by occupying discarded gastropod shells. The shell was made by another animal, but the crab carries it into a new life. [1] Gastropod shells also serve their original owners as protective structures against damage, predators, and drying out. [2]
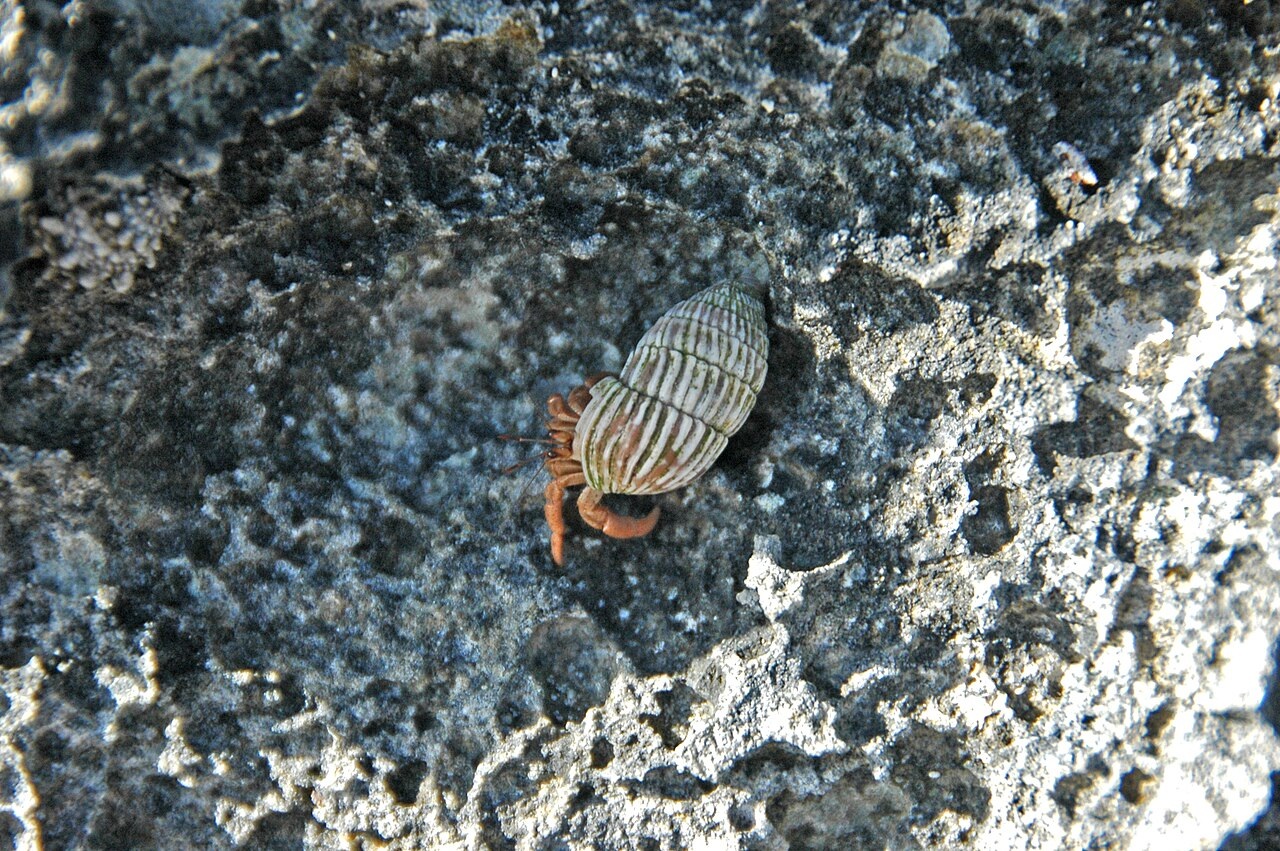
Figure 1. A Caribbean hermit crab sheltered in a snail shell on rough coastal rock.
Photo: James St. John | ccby2.0
Shelter is not simply a question of finding any empty shell. In research on the hermit crab Calcinus seurati, factors including shell size, shape, volume, and weight influenced shell choice; water movement also mattered. [3] Rocky tide pools offer a vivid setting for that tension between exposed ground and protected spaces. A small refuge can change what an animal is able to do next.
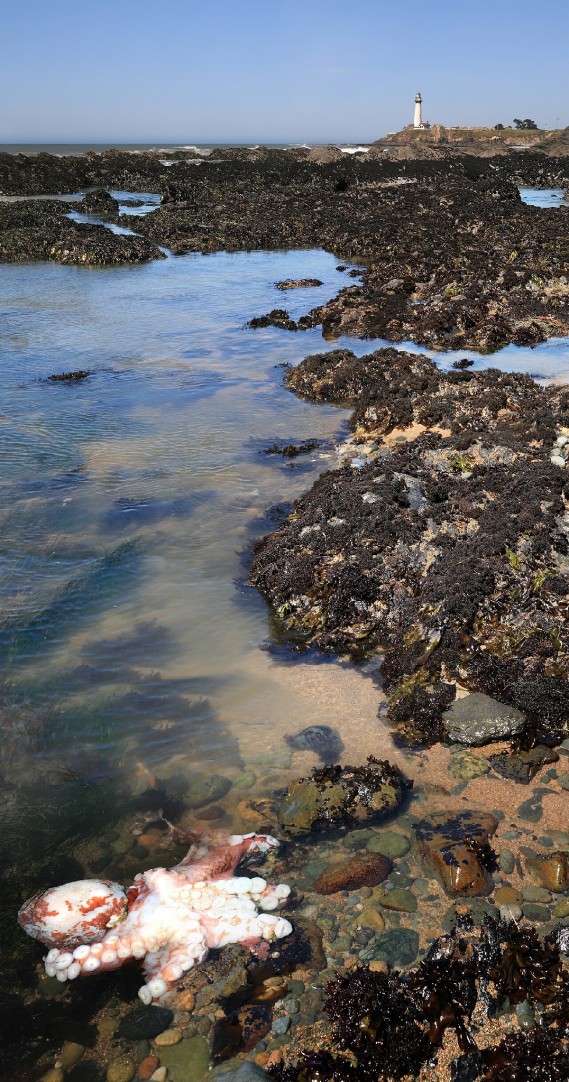
Figure 2. Rocky tide pools beside Pigeon Point Lighthouse on the California coast.
Photo: Brocken Inaglory | ccby-sa3.0
A used shell can also create an opportunity for someone else. Researchers have documented hermit-crab vacancy chains: when a suitable shell becomes available, one crab moves in and leaves its former shelter for another. One study measured chains involving an average of 3.2 participants. [4] Field research describes both synchronized and staggered versions of these shell exchanges. [5] The remarkable part is that a shelter can remain useful even after its occupant leaves.
We developed Jumping Shell for wavechallenge.io around a playful version of that idea: leaving your shelter can help you move forward. Our red, wide-eyed traveler can leap out of its shell, use the discarded covering as a foothold or switch weight, and return to it when needed. Where a real crab searches for safe shelter, our little adventurer learns when to carry one and when to let it go.
Story
Far above a tidal basin that has fallen strangely silent, the Saltglass Chambers hang like forgotten rooms inside a cliff. A tiny traveler named Pip carries a shell that is both home and the one possession sturdy enough to leave behind. Beyond the stone corridors, orange doorways glow like signals from a distant shore. Pip's journey begins with a simple hope: find a route through the chambers so that wandering travelers can cross the basin again.
The passage is broken into awkward ledges, narrow shafts, and places where a single step makes all the difference. A shell kept close feels safe, but a shell set down can hold a floor switch or turn an unreachable ledge into the next foothold. Each time Pip parts with that shelter, the path opens in one direction and becomes uncertain in another. The little courier must decide when to leave home for a moment and when to go back for it.
As the rooms climb toward daylight, the meaning of the journey changes. The goal is no longer to keep a perfect grip on one precious thing. It is to discover that something familiar can serve a new purpose when placed in the right spot. The shell is still Pip's refuge; now it is also a way to reconnect places that have been separated.
Gameplay
Guide the small red square through compact platform rooms toward the orange, crosshatched exit. Move sideways and jump across floors and ledges. Jump again while airborne, and the traveler springs out of its shell: the smaller character rises while the empty shell drops below. Leave the shell where it can serve as a step or press a floor switch, then move back into it to reunite the pair. Repeat that sequence to open a safe route and touch the exit to clear the room.
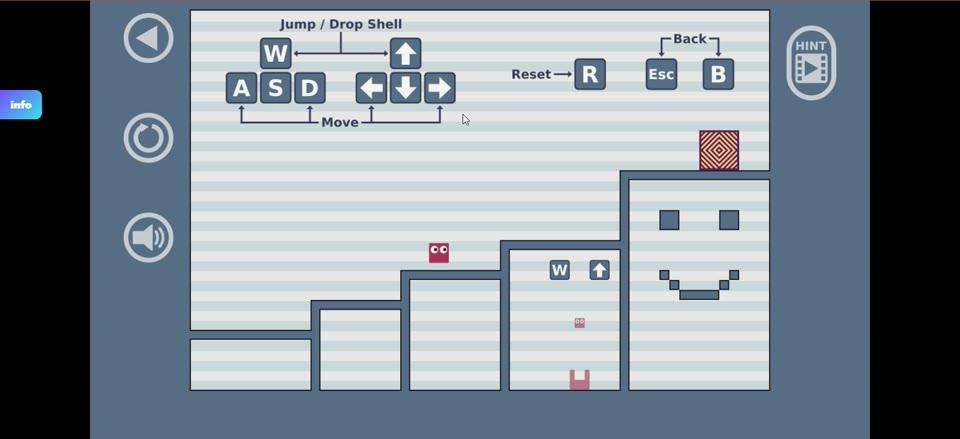
Figure 3. The red, wide-eyed traveler inside a pale chamber of platforms.
Your Character and the Reusable Shell
The red, pink-toned square and its large white eyes make your traveler easy to track against the pale walls. Its shell changes how you solve a jump: after the second airborne leap, you control the smaller traveler while the covering falls to a surface below. Contact with the shell lets you enter it again, and returning to it can help you reach greater height on a later jump.
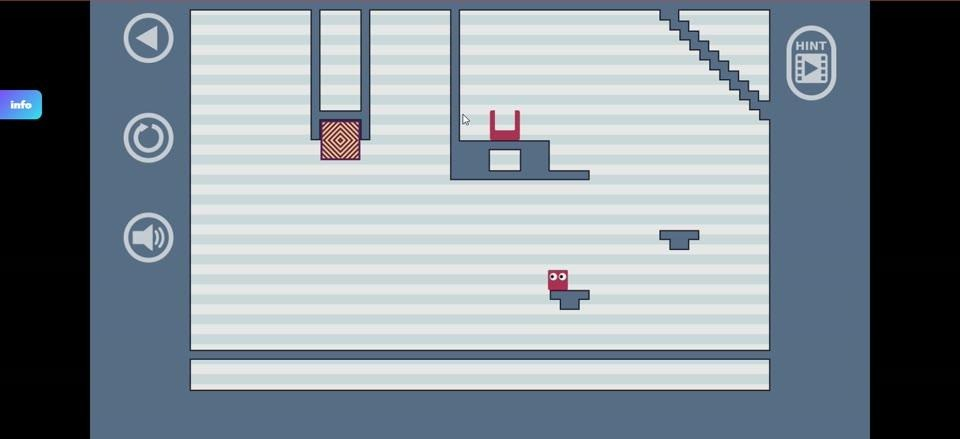
Figure 4. A platform chamber with narrow ledges around the small red traveler.
For example, when a ledge is too high to reach directly, use the extra airborne jump to shed the shell where it can become a foothold. Work back to the shell, use its position to gain height, and recover it when the route calls for another placement. The useful question is where to leave it before making the next move.
Floors, Obstacles, and Switches
The chambers combine broad dark-gray floors with short shelves, T-shaped platforms, overhangs, stepped passages, vertical shafts, and thick partitions. Small red U-shaped markings also form obstacles along some routes. Check the space above and below before jumping: black triangular spike strips line certain floors, walls, and ceilings, and touching them ends the attempt.
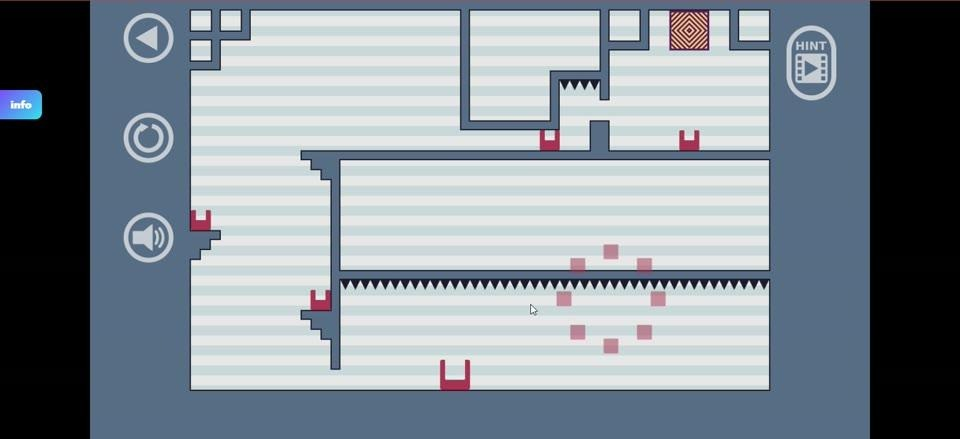
Figure 5. Black triangular spikes crowd the edges of a narrow platform route.
Green, rounded floor switches control thin yellow laser barriers. Standing on a switch or leaving your shell on it deactivates the linked laser, allowing you to pass. An active yellow beam is dangerous to touch, so leaving the shell on a switch can be more useful than immediately taking it back.
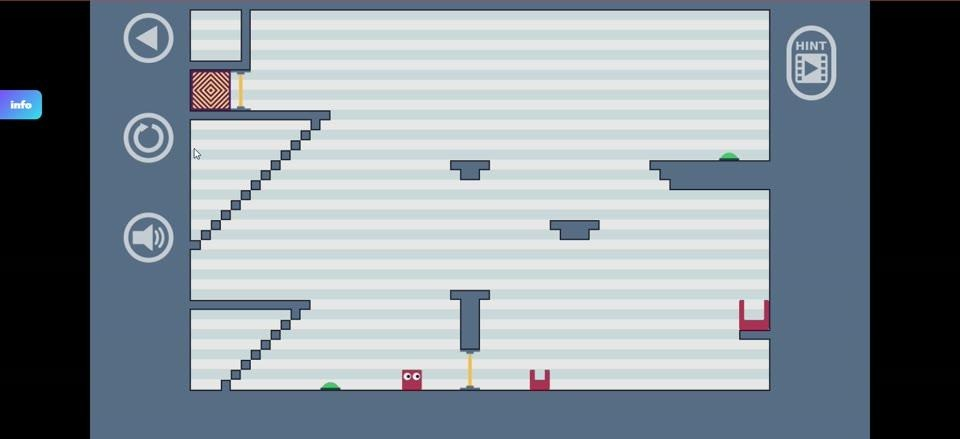
Figure 6. A thin yellow barrier crosses the path near a green floor switch.
A switch is a place to leave weight, not an exit. Watch how the green mark and yellow barrier relate to each other, then choose a route that lets you move beyond the disabled beam without touching spikes or dropping into a pit.
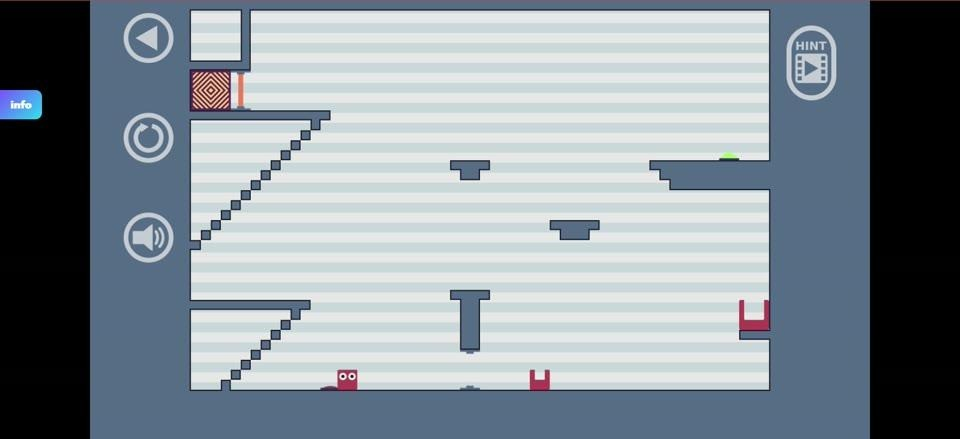
Figure 7. A green floor switch positioned among the chamber's platforms.
Completing Rooms, Failing, and Trying Again
Touch the orange square with its crosshatched center to finish the current level. Clearing a room opens the next one, and the level-selection grid contains 24 stages. Your progress is tracked by cleared stages rather than a running points total. You can replay stages you have already unlocked, and completed levels remain recorded after you leave.
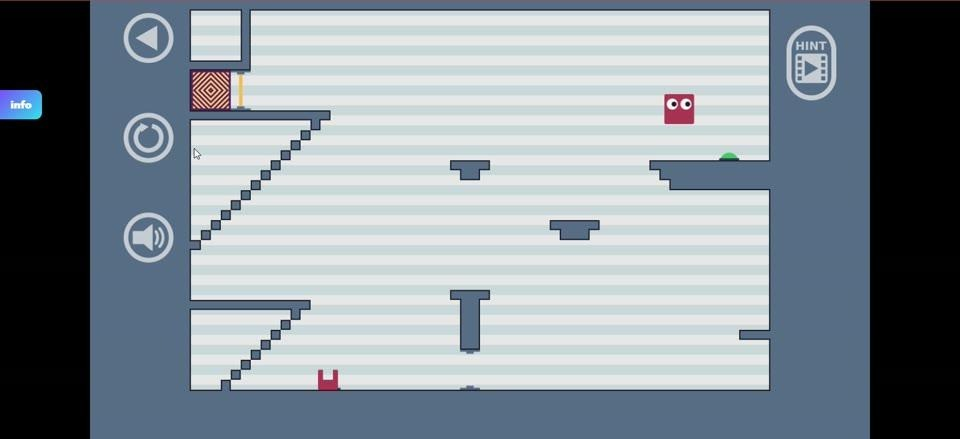
Figure 8. The orange crosshatched exit marks the end of a platform room.
Touching spikes, crossing an active laser, or falling into a pit ends the current attempt. If the traveler becomes trapped or the shell is out of reach, restart the room to try a different placement. Restarting returns the character and shell to their starting state for that room; previously cleared levels stay unlocked. Success means reaching a particular room's exit, then working through the next puzzle, rather than chasing an endless score.
Helpful Screen Controls
A pale circular button with a left arrow near the upper-left corner restarts the level. A separate speaker button on the left toggles game audio. The oval HINT button near the upper right, marked with a filmstrip symbol, offers a clue. A slim blue Info tab at the far left opens the wavechallenge.io game menu, while the instruction legend at the top displays the movement controls.
On a keyboard, R also restarts a level, and B or Esc returns you to level selection. These options let you retry a shell placement or revisit a completed room without losing your saved stage progress.
Visual Style
Jumping Shell uses clean, geometric shapes so you can read a room at a glance. Pale blue-white striped chambers sit against a muted slate-blue background. Dark gray platforms define solid ground, and the bright red traveler stands out even when the route bends through a tight shaft. The oversized eyes add a little character to a game built from simple squares and lines.
We chose strong visual differences for the objects that matter to a decision. Black triangles warn of spikes; a thin yellow line identifies a live laser path; rounded green patches mark switches; and an orange crosshatched block points to the exit. These shapes keep each puzzle legible while the shell moves between being something you wear and something you leave in the world.
Standout Features
The second jump changes more than your height. It separates traveler and shell, making one movement action create an object you can use afterward. A shell left on a ledge becomes a step; one left on a green switch can keep a laser off while you travel on without it. Reclaiming that shell gives you another chance to reposition it elsewhere.
That reuse gives the game a different rhythm from other compact puzzle platformers. In BOXBOY!, Qbby creates connected boxes to get past stage obstacles. [6] Here, your central resource is a shell you shed, place through your own movement, and recover. Every useful placement also raises a practical question: can you get back to it when you need it again?
With 24 selectable levels, clear exits, and room layouts that combine height, hazards, and switches, each completed chamber marks a concrete step through the journey. Play Jumping Shell on wavechallenge.io and see how far one portable home can take you.
Controls
PC Keyboard
1. Find the red, white-eyed traveler. Press A or the Left Arrow to move left; press D or the Right Arrow to move right.
2. Press W or the Up Arrow to jump toward a ledge or over a gap.
3. While still in the air, press W or the Up Arrow again to jump free of the shell. The smaller traveler rises and the shell falls; guide the traveler back into the shell to reenter it.
Mobile Touchscreen
1. Find the red traveler, then use the on-screen left and right direction buttons to move along the platform.
2. Tap the on-screen jump button to jump.
3. Tap the jump button again while airborne to leave the shell behind. Move the traveler into the dropped shell when you want to wear it again.
References
[1] Hermit crab. https://en.wikipedia.org/wiki/Hermit_crab
[2] Gastropod shell. https://en.wikipedia.org/wiki/Gastropod_shell
[3] The effect of flow rate on hermit crab shell selection in three species of tropical Calcinus. https://doi.org/10.60950/bgtl.1994.7.hahn.dr
[4] Vacancy Chains Provide Aggregate Benefits To Coenobita clypeatus Hermit Crabs. https://doi.org/10.1111/j.1439-0310.2009.01626.x
[5] Social context of shell acquisition in Coenobita clypeatus hermit crabs. https://doi.org/10.1093/beheco/arq027
[6] BoxBoy!. https://en.wikipedia.org/wiki/BoxBoy!
Image Credits
Coenobita clypeatus terrestrial hermit crab in Cerion watlingense snail shell (San Salvador Island, Bahamas) 1 (15408880624).jpg — James St. John — ccby2.0. https://commons.wikimedia.org/wiki/File:Coenobita_clypeatus_terrestrial_hermit_crab_in_Cerion_watlingense_snail_shell_(San_Salvador_Island,_Bahamas)_1_(15408880624).jpg License: https://creativecommons.org/licenses/by/2.0
Vicinity of Pigeon Point Lighthouse.jpg — Brocken Inaglory — ccby-sa3.0. https://commons.wikimedia.org/wiki/File:Vicinity_of_Pigeon_Point_Lighthouse.jpg License: https://creativecommons.org/licenses/by-sa/3.0